Signatures and Images
Signatures and Images
UXStorm PDF Application allows the user to insert an image or signature on a form. An image can be in PNG, GIF, or JPEG format and may be retrieved from ServiceNow in many ways. This enables a graphic from a user’s profile, an attachment on a record, or an image defined using a script to be placed on the form. While there are many types of signatures, UXstorm uses an image-based approach. The Signature Image may be graphical if produced by Signature Pad or an external system, or font based using the signatory's name and generating a graphical image using a cursive font. A signature can be inserted if the record is approved, accepted by signing with Signature Pad, or even hardcoded if it’s always the same person.
While there are many different methods of providing electronic signatures, the reason for signing is to prove that the person reviewing the document is who they say they are. The way that this can be legitimized is by using ServiceNow as the system of authority to confirm the identity of the signatory. If the authenticity of the signature is questioned, then ServiceNow can be used to provide the answer.
Definitions
- Fillable PDF – A PDF Form that has fields that are fillable by the end-user.
- Signature Image – An image of the Signature
- Regular Image -- An image such as PNG/GIF/JPEG
- Signature Pad -- A ServiceNow plugin that enables a user to sign a record in ServiceNow. The signature may be a Graphic Signature or a typed name. In the latter case, UXstorm PDF will use a Font-Based Signature.
- Font-Based Signature – Taking the name on the user record and producing it in a cursive font
- Graphic Signature – A signature drawn on Signature Pad or provided by another application to retrieve the graphical representation of the user’s signature.
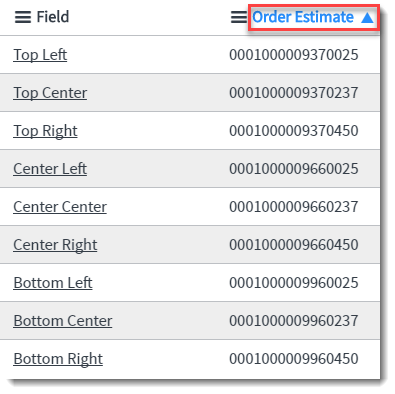
Field Order Estimate
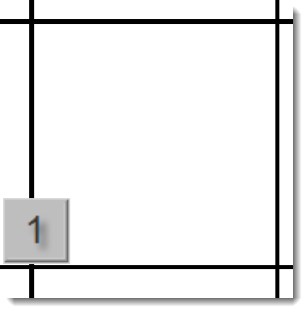
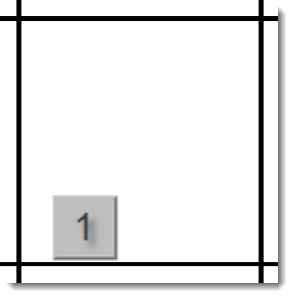
To locate a specific field, UXstorm PDF analyzes the PDF and estimates the reading order (left to right) in which the fields appear. To display the fields from top left to bottom right, click Order Estimate until the arrow is pointing up.
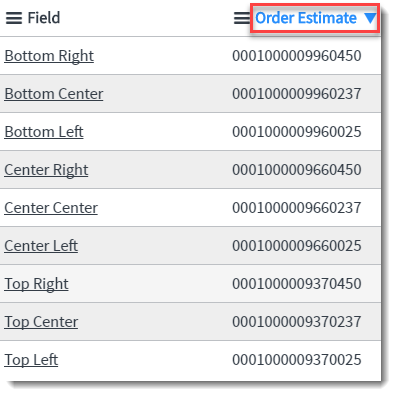
To view the fields from bottom right to top left, click Order Estimate until the arrow is pointing down.
To create a signature or image, first, select New under the Signatures and Images tab inside a PDF Form.
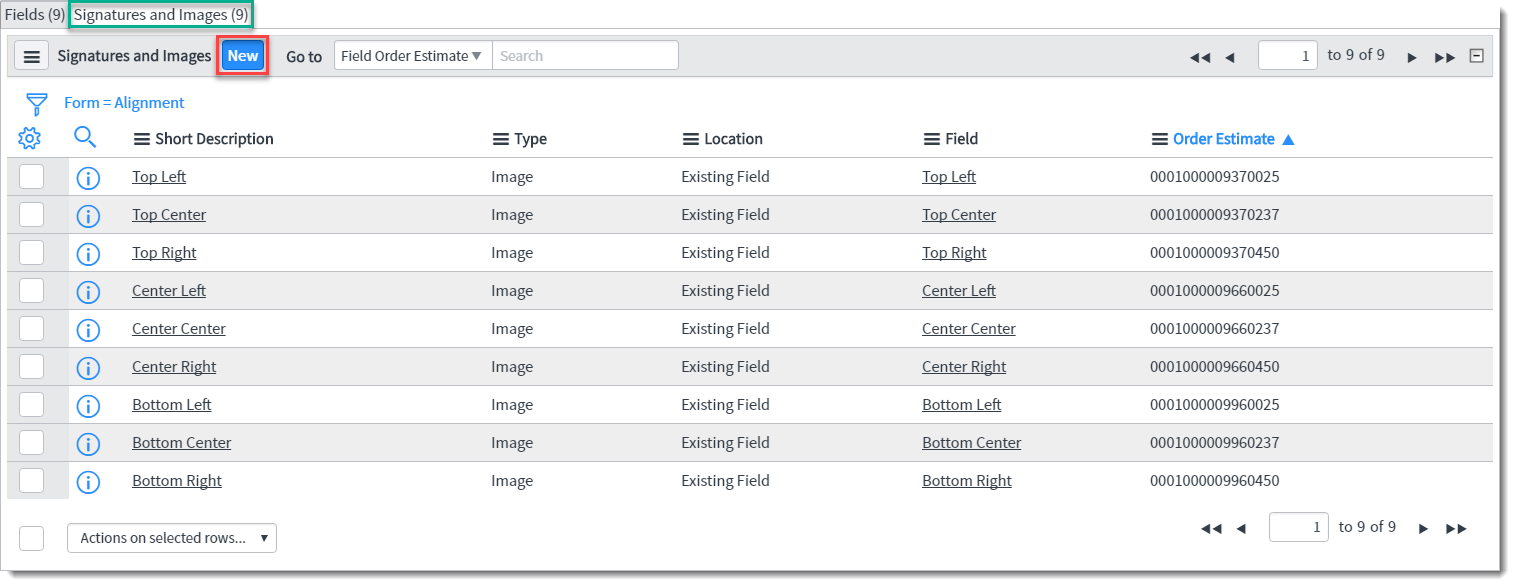
After selecting New you will see the following at the top of the screen.

Short Description
Provide a description of the image or signature here to easily identify the image or signature.
Type
Specifies if the Image is a Signature or a regular Image. This option changes the requirement of either the Signature Info tab or the Image Info tab.
Location
Existing Field
In the Field field choose the fillable field from the PDF for the signature or image to layer over. If the field specified appears in multiple locations in the PDF, then the image will be used on every field location. NOTE: This action causes the removal of the fillable field to prevent text editing on top of the signature or image.

Specify Location
If the desired area for imposing a signature or image is not a fillable field, then its location must be defined by specifying a rectangular area on a specific page.

The Specify Location option will reveal the Location Info tab.

In the Location Info tab:
- First, define the bottom left corner of the rectangle using Units from Left and Units from Bottom.
- Next, define the width and height of the area desired using Width and Height.
- Then, provide the page number of the location in the Page field.
Memo
This Location option configures an image to be placed in a memo field. This option requires you to provide a Memo Id that will be used to place the image in the memo.

The Memo option will reveal the Location Info tab where Width and Height can be provided.

Image Options
The following options alter not only images but also signatures.
Alignment
Horizontal Alignment

Left aligns the image or signature to the left.
Center aligns the image or signature to the center of the horizontal plane.
Right aligns the image or signature to the right.
Vertical Alignment

Top aligns the image or signature to the top.
Center aligns the image or signature to the center of the vertical plane.
Bottom aligns the image or signature to the bottom.
Overflow

Allow
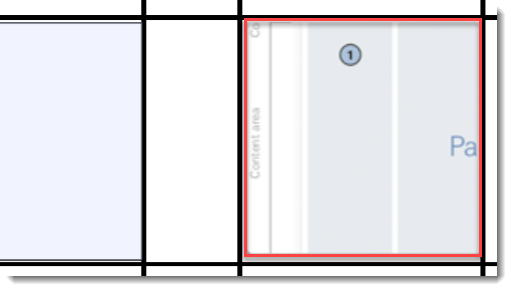
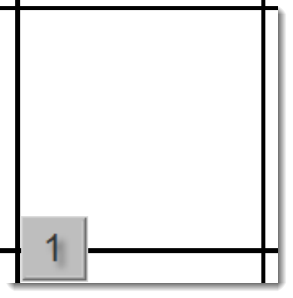
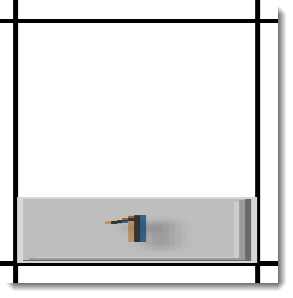
This option places an image or signature in its respective field or location. Allow retains original image height and width, allowing the image to take up as much space as necessary. Notice in the image below how the image outlined in red is taking up one whole field and spilling into another field.

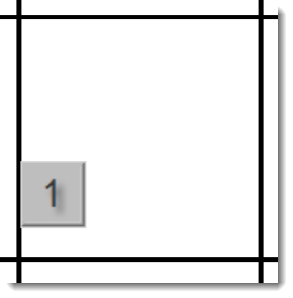
Crop
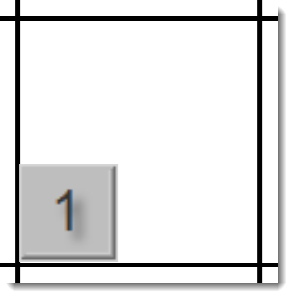
Places image or signature in respective field or location, and if the image is larger than the dimensions of the field, it crops the image to fit in the field’s dimensions. Notice here that the same image previously allowed overflow, is now cropped to fit inside of one field.
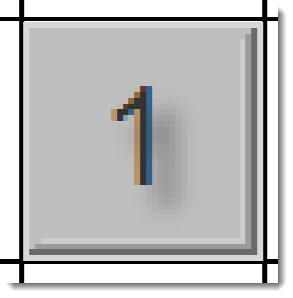
Scale Maintain Ratio
If the dimensions of the image or signature are greater than the dimensions of the desired field, then it scales the image to fit inside the field without distorting the image. The scaled image maintains the original ratio of height to width.
The original image shown below overflows above two fields.

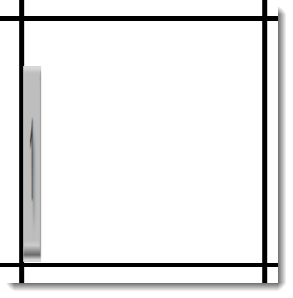
However, after scaling with a maintained ratio, the image fits nicely into one field.
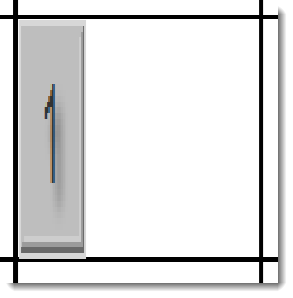
Scale as Needed
If the dimensions of the image or signature are greater than the dimensions of the desired field, then the image width or height is reduced to the available width or height of the field respectively.
The original image shown below overflows above two fields.
However, after scaling as needed, only the height is scaled down to fit the dimensions of the field. The original width is maintained because it fit within the dimensions of the field.
Offset
Horizontal Offset
Offsets the image or signature left or right. A negative number moves the image or signature to the left.
A positive number moves the image of the signature to the right.
Vertical Offset
Offsets the image or signature up or down. A negative number moves the signature or image down.
A negative number moves the signature or image up.
Scale
Both Height and Width
Scales the image or signature to the Height and Width of a field, filling the field.
Height
Scales the image or signature to the height of a field while retaining the image’s original width.
Width
Scales the image or signature to the width of a field while maintaining the image’s original height.
Percent
Scales both height and width of the image or signature by a specified percentage.
Percent Width/Height
Scales the height and width of the image or signature separately by a specified percentage.
Rotation
Rotates the image at the desired angle in degrees. Can be used in combination with overflow to fit an image or signature in a field or the wanted location properly. For example, the original image rotated may look like the image below. Notice how the image covers multiple fields.
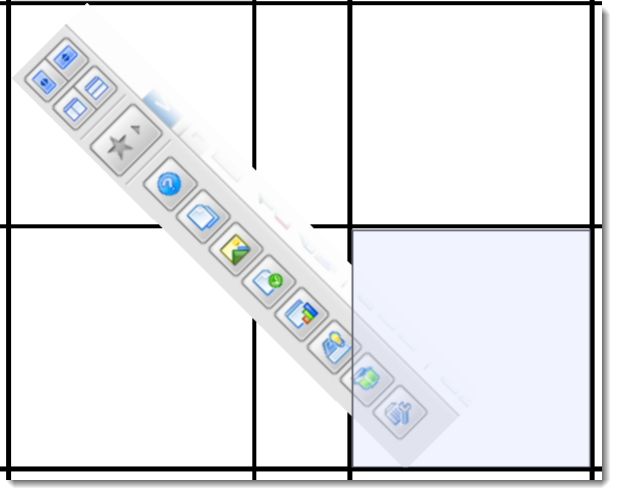
However, when the image is both rotated and scaled, it fits easily in one field.

Make Transparent
When Not Selected
Makes the background color of the image not transparent, deleting all visible data behind it.
When Selected
Makes the background color of the image transparent.

The same can be done with a signature.

Signature Info
Basic Information
Signatures are applied to the PDF as images, even if they are text. The font, font color, and font size, first style the text. The object then imposes as an image on the pdf. This process eliminates any doubt about the font loading for the signature.
- Initially, the only font available is the default font. For more options, the administrator must use the refresh fonts feature.
- The first available MID server then provides all the embedded and system fonts.
- Make sure all MID servers are on the same OS.
- For Windows users, If the fonts are not visible, the MID server needs access to the desktop. To do this, change the permissions of the user.
- Make sure all MID servers are on the same OS.
Signature Type
Static
The signature set does not alter depending on the user or approval.
Field on Form
UXStorm PDF obtains the signature from a field, like a signature field on the current record.
By Approval
- The signature of the first user to approve the request displays with the default condition "State is Approved."
- The checkbox "Newest Approval" uses the signature of the individual who approved the request most recently.
Signature pad
Selecting Signature Pad will take a ServiceNow’s Signature Pad “action” on the record to use for the signature. What it looks like is dependent upon what the end user chooses to do with the Signature Pad. It can be drawn or a typed name.
By default, the last Signature Pad “action” is used for the signature. If more than one user can “sign” a form with the Signature Pad, you will want to limit the signature to a specified user. Choose Limit by Specific User Field then select Field and provide a field that contains a User Record to use to limit the Signature Pad action too. For instance, it could be the Assigned To** field and only the user in that field’s Signature Pad action will be used.
Draw It
Inserts the signature image from the signature pad into pdf location.
Type It
Uses the textual data from the signature pad then uses the font settings defined in Signature Info to create the signature image.
Script
The script option allows for the gathered signature to be either a font-based signature or an image. See generated comments for the explanation on how to do this.
Font
There are 58 different embedded fonts provided by UXstorm PDF Forms.
- The Font, Font Size, and Font Color are all customized with the appropriate fields.
- The default font applies to the text if the option – None – is selected.
- The default font size, 18, is used if the Font Size field is left empty.
- The default color, black, is used if the Font Color field is left empty.
Custom Fonts
- A custom font can be loaded onto the MID server and use the All Fonts option to display them in the Font drop-down menu.
- The Font drop-down menu first displays embedded fonts alphabetically then displays the custom system fonts, also alphabetically.
- If using multiple MID servers, the custom font(s) must be uploaded to all MID servers used to generate PDFs. All MID servers must be running the same OS. Otherwise, the MID server obtains different embedded fonts for each OS.
Image Info
Image Type
Field
Image Field
- The image can come from a form by selecting Image on Form
- The image can come from a user’s photo by navigating to that user then their photo.
Attachment
- The image can come from any attachment on a record referenced by the current record by navigating to the record containing the attachment.
- If multiple attachments are on the record, specify the attachment name. Otherwise, UXstorm PDF uses the first attachment found.
- Specify the attachment name if multiple attachments may be on the record or only a specifically named attachment is desired.
Script
UXstorm PDF offers the ability to use JavaScript to define an image. See generated comments for the explanation on how to do this